

Thank you all for your help! After yesterday’s Input I managed to Print my Box! The Problem was (mostly) the Bed temperature! The lower Bed temperature (60°C) and the now successful Firmware-Update (special thanks to DABDA) done the trick!
Thank you all for your help and your advice!
Hello I’m very new to 3D printing, I’m using a Sovol 06 with 1.75mm PLA. I’m trying to print a Box (for MTG-Cards). But everytime the bottom of the Box starts to “deatche” itself from the Bed. It starts with one corner and then progresses to the whole print. The Nozzle temperature is 200°C and the Bed temperature is 80°C. Can someone help?
You must log in or register to comment.
If you’re printing PLA then 80°C bed temp is way too hot and probably contributing to warping, lower the temp to 60°C or so. The filament roll should have suggested temperatures labeled on it somewhere.
Sounds to me like some of your fundamental settings are incorrect.
-
Make sure your bed is level. Level manually with the piece of paper trick and then use autolevel if your printer has it. Make sure you’re actually loading the auto level offsets, I had to add some extra gcode for this at the beginning for every print.
-
Check your print height and extruder speed. Check reference images for how your first layer should look. Your z offset should allow for a single line of print between the bed and the print head. Overcompensating by smashing the print head into the bed can help with adhesion but causes other issues later in the print. Also calibrate your extruder. It’s a pain in the ass, but actually go and get some digital calipers to do it. This is very important as overextrusion can cause many issues.
-
Don’t overcompensate with temperatures. If you need 80c for your pla to stick it’s probably a different issue. I had generally bad bed adhesion before I ended up switching to a PEI steel sheet. If you’re staying on glass, cleaning the bed and using a bit of hairspray works wonders.
-
Make sure your printer is in a stable environment. Close windows, doors in the room, make sure there is no draft (try not to blow on the print if you’re examining it from close as it goes) Air movement causes faster cooling which can cause warping.
AFTER you are done with these, you can experiment with temps a bit and try more advanced things, but go through these steps first, start over from scratch if you have to. Using a brim or skirt is also sometimes helpful.
It took me more than a year of off and on tinkering to get the printer to a somewhat stable state, so good luck! There is quite a steep learning curve for all of this.
-
You can manually move the print head around on the bed if the motors aren’t activated. I would test the space between the nozzle and the bed with a piece of paper. When it is zerod on the z-axis the paper should just grip the nozzle as you move it around. You may have to do some manual adjustments to get it close before the auto leveling feature works well. Not familiar with this brand.
I’ve never had the bed so hot for PLA before, usually 55 max. Not sure if the added heat may be contributing. What temp is the room at? Make sure the printer is not in a breezy area like near a vent or window.
Could you take a few pictures that document your first layer and how that problem you’re describing starts to develop?
Yes I will, I just started another try so if it happens again I will document it
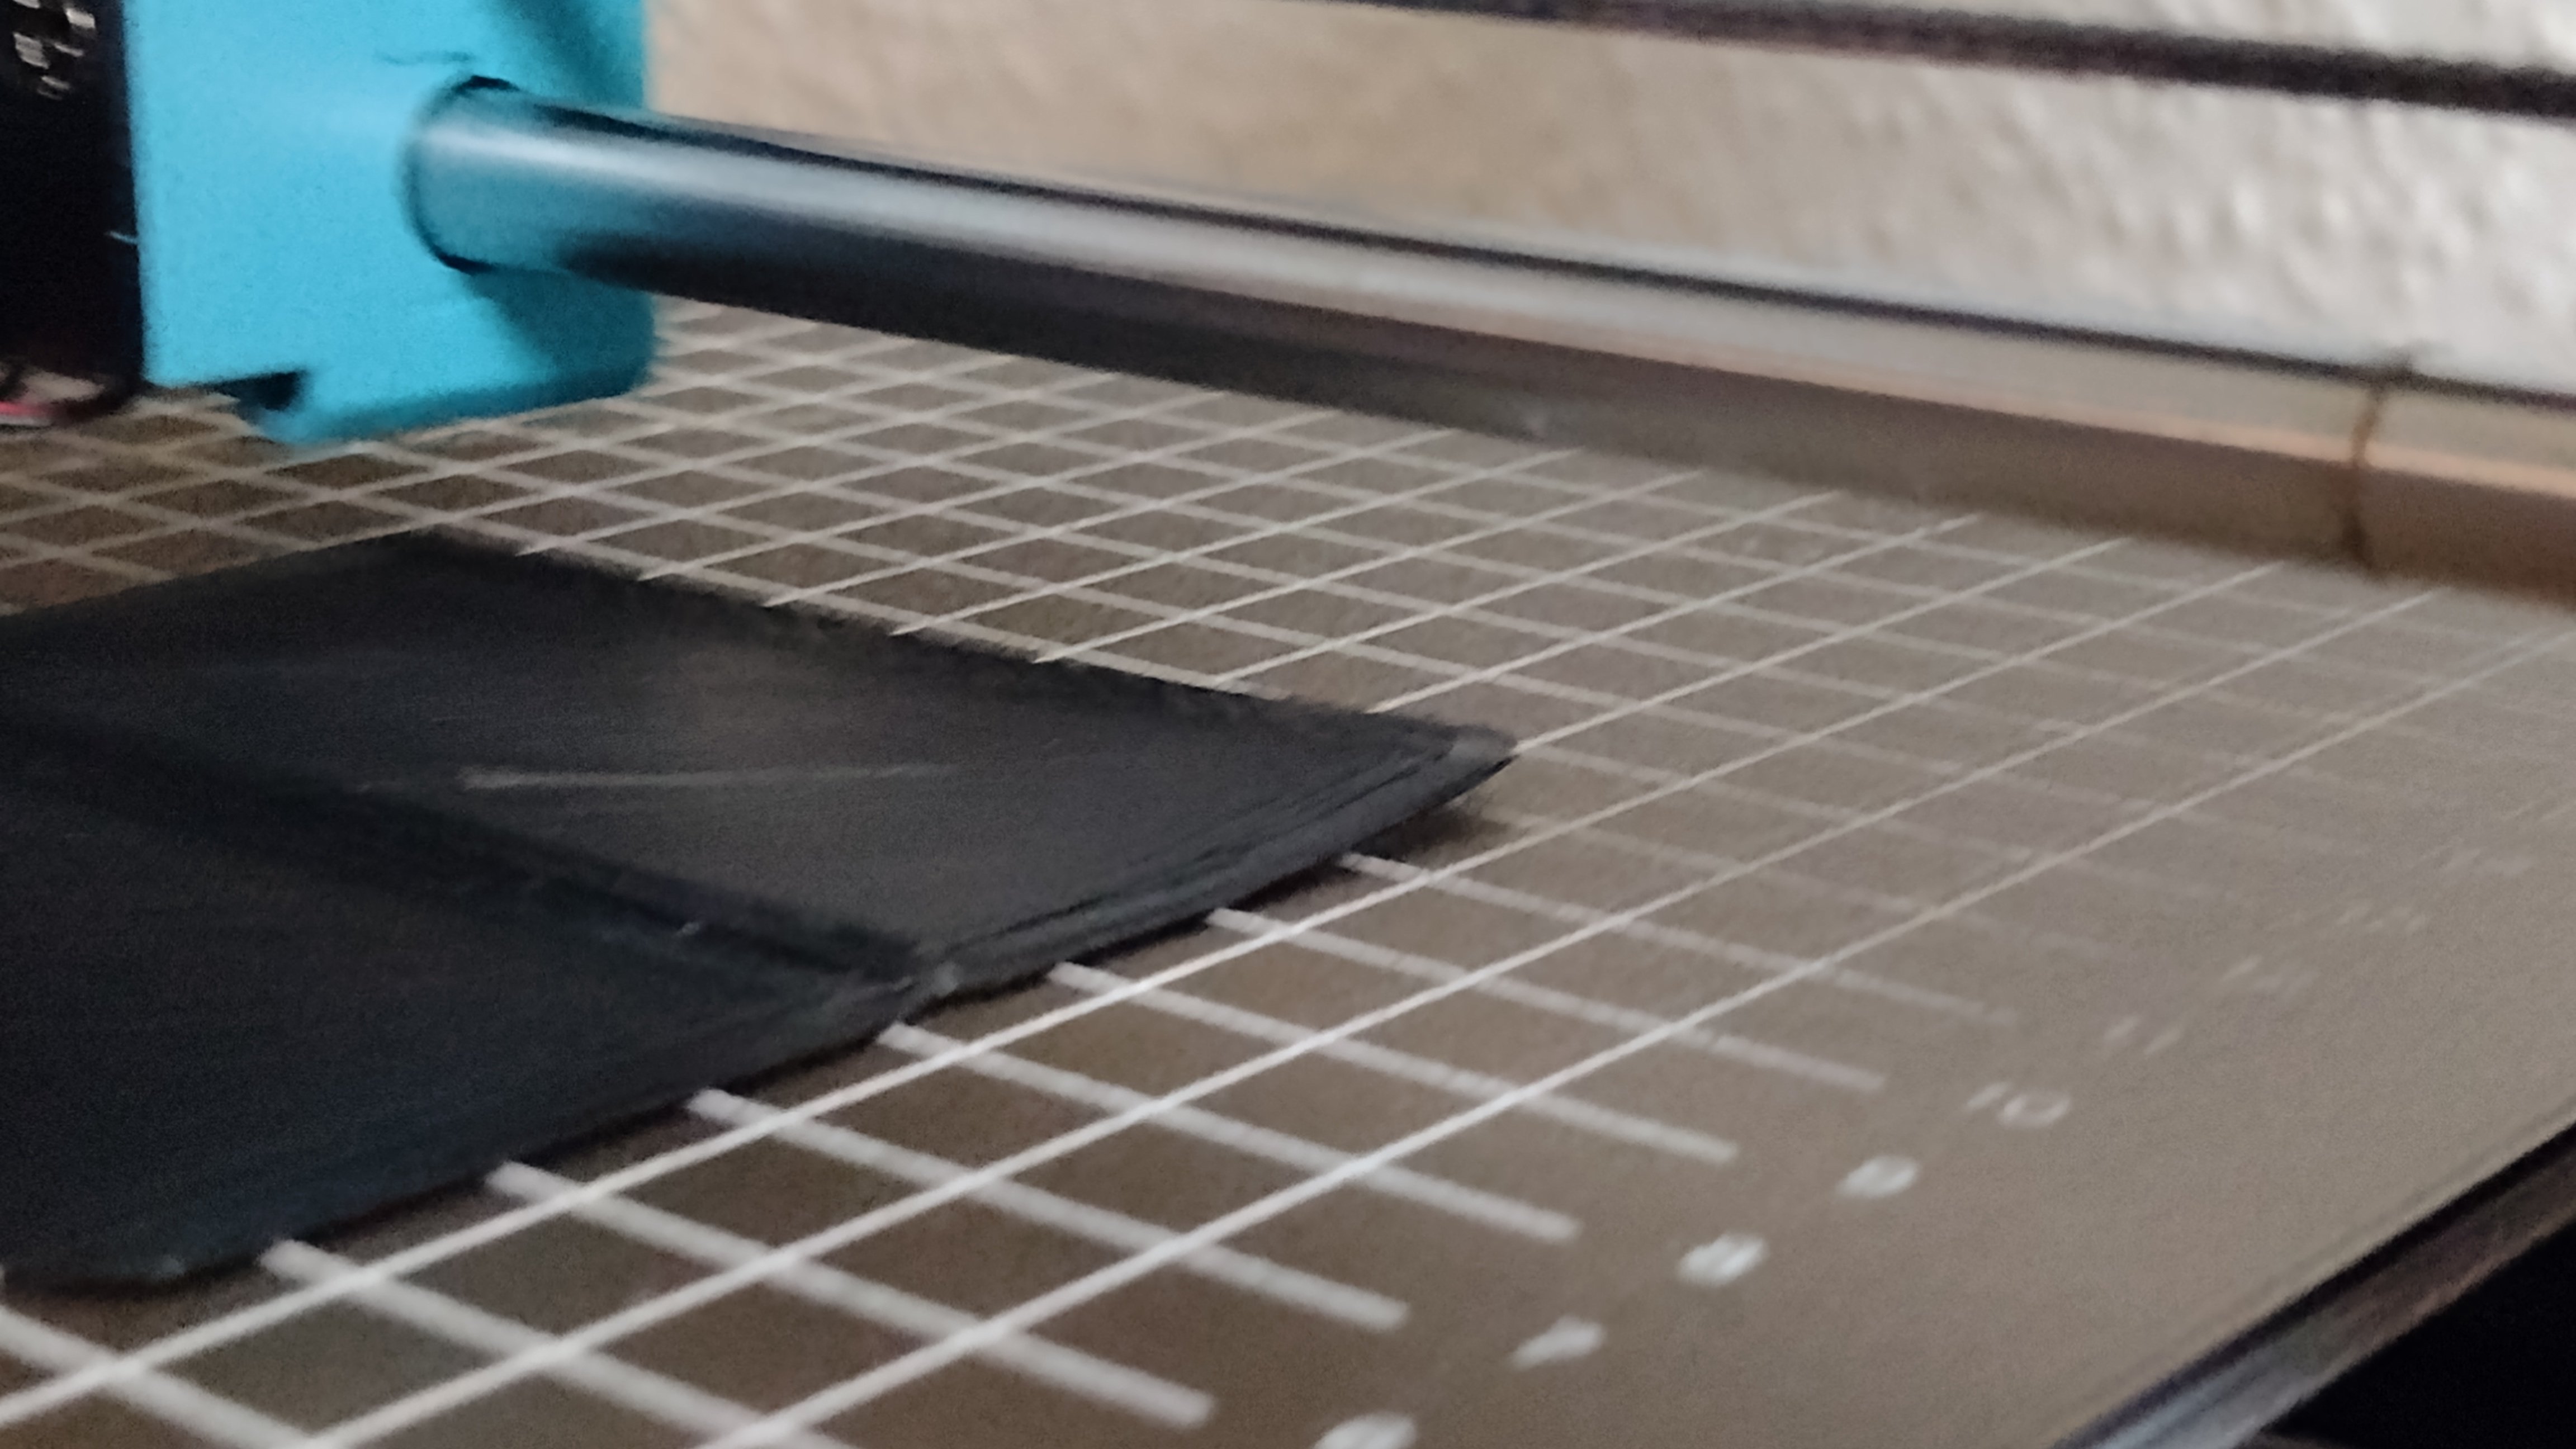
To my eyes the inner rectangle portions look pretty good and uniform. If that’s a brim around the outer edge it’s definitely not doing its job.
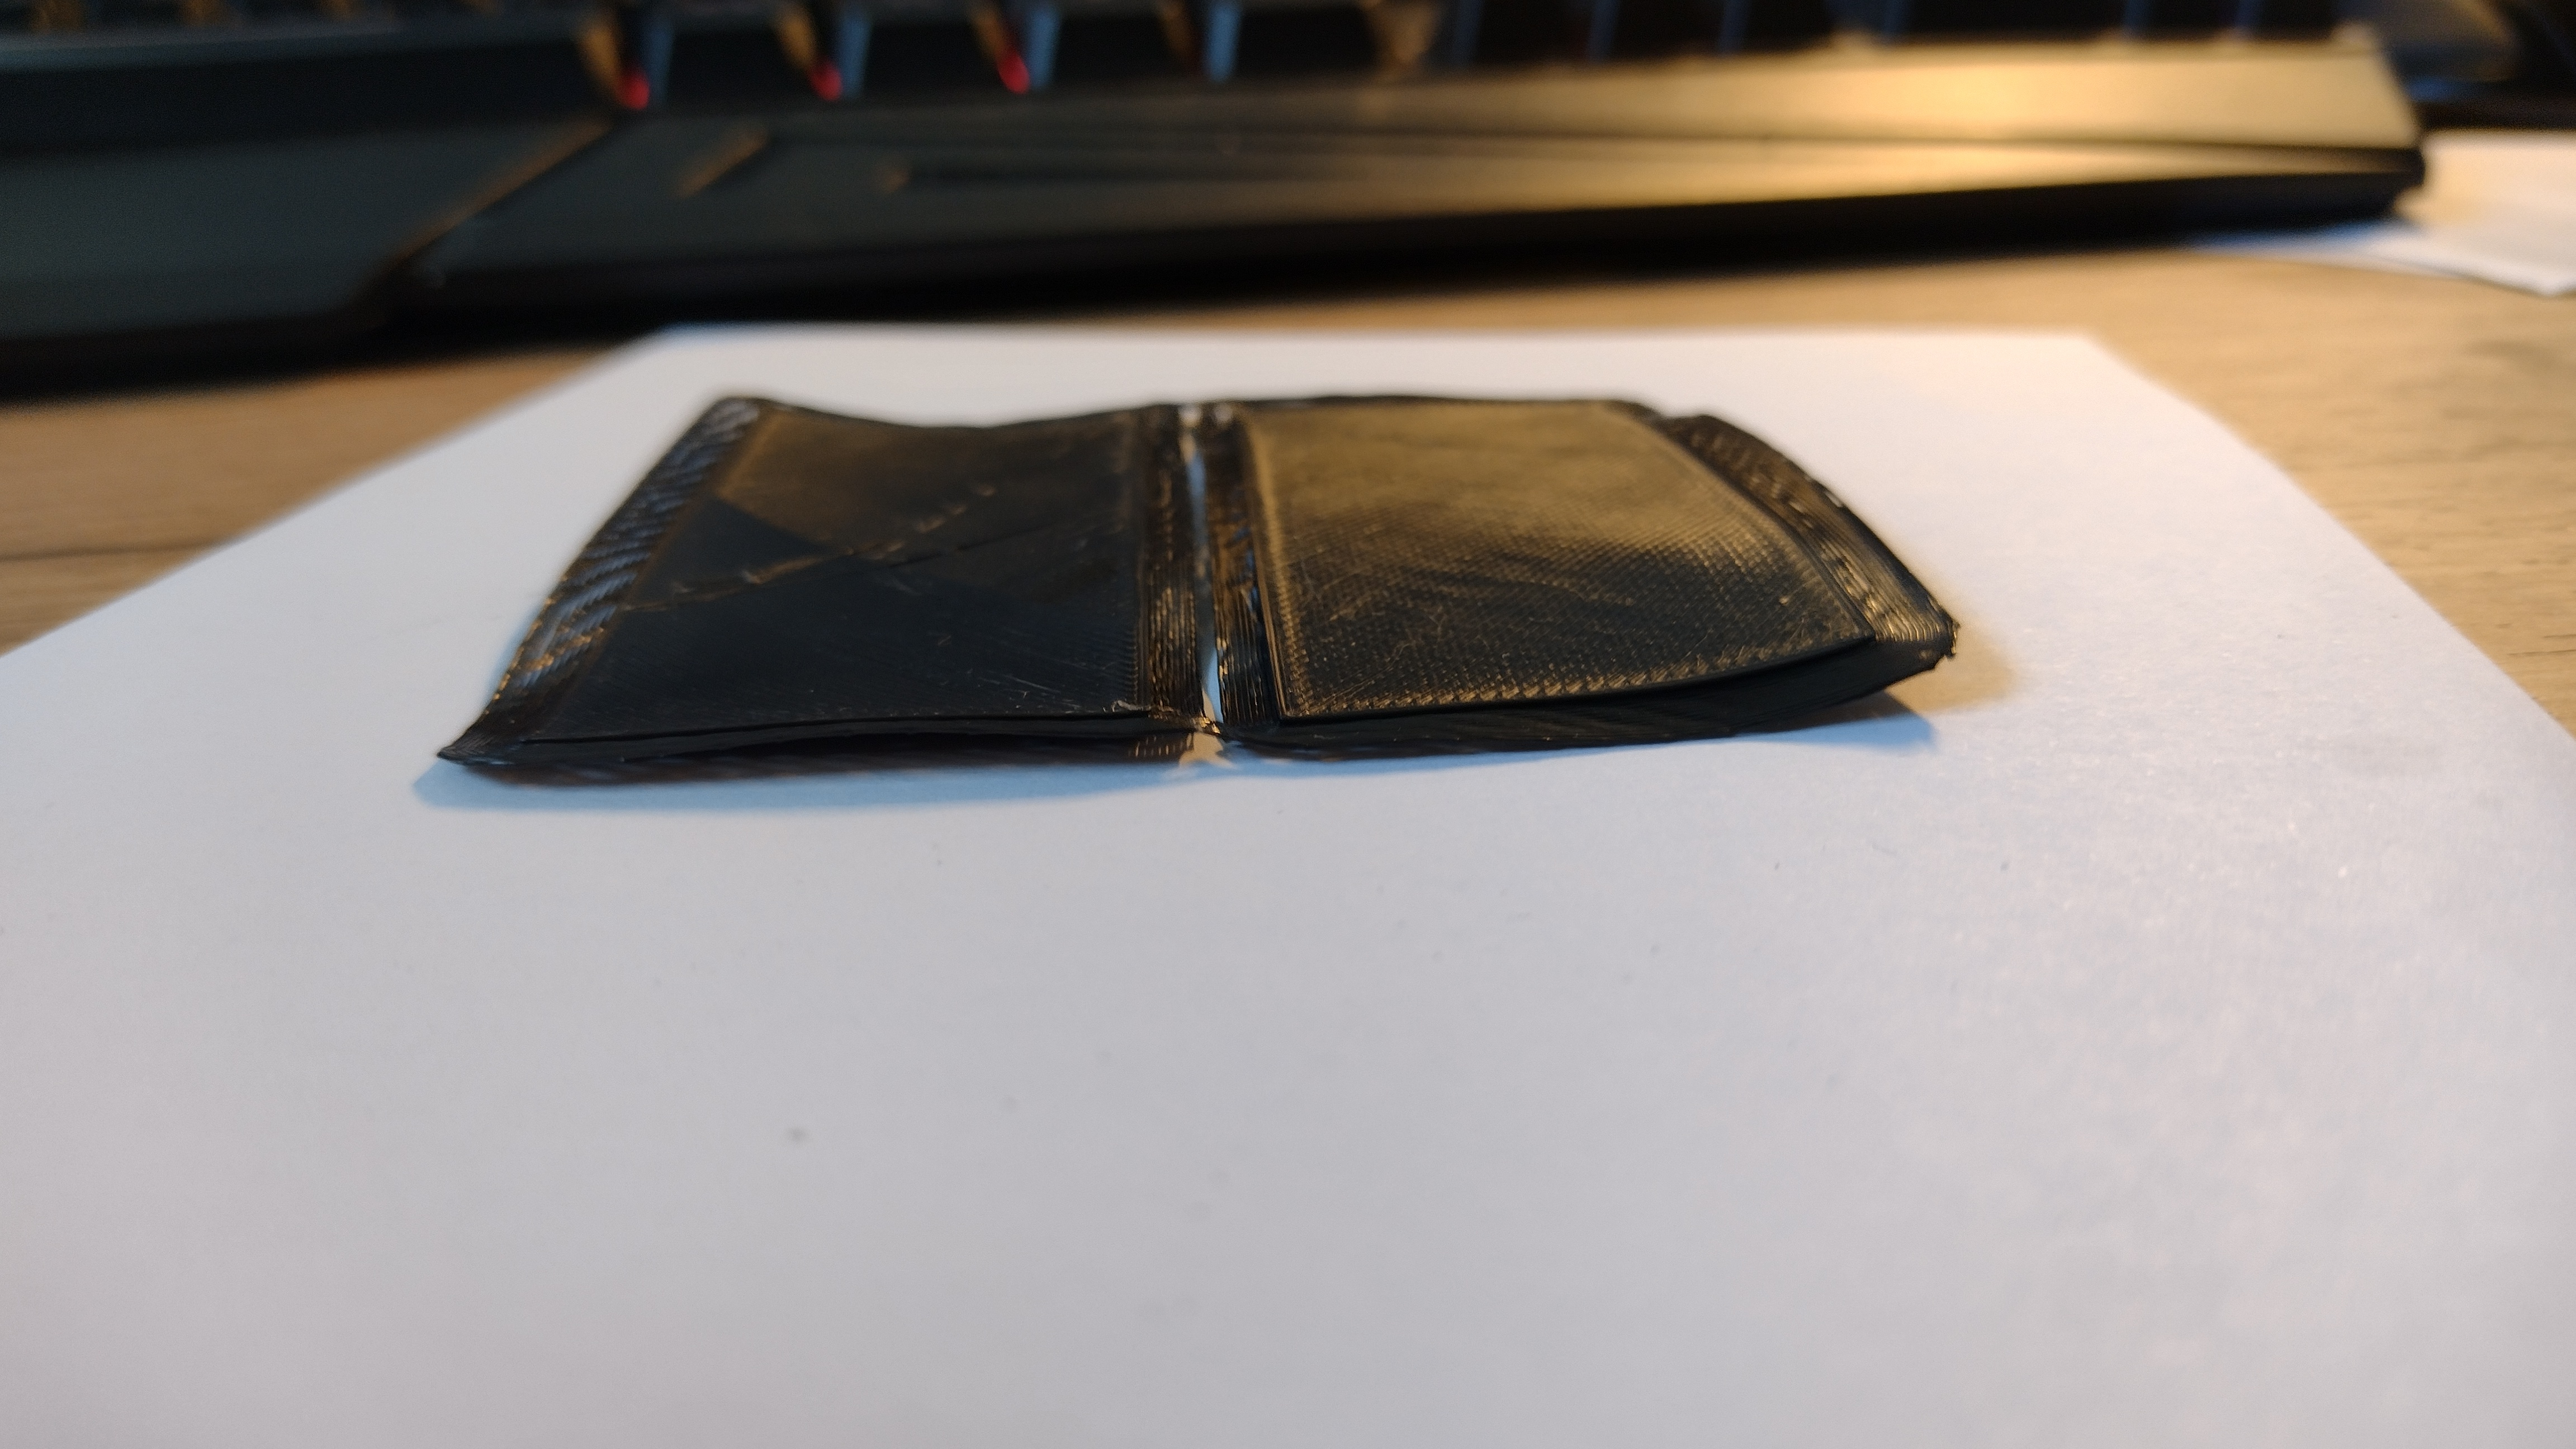
Is the severe warping and sharp creases from you fighting to remove it from the plate or is this basically how it looked on the printer?
EDIT: If there’s any kind of draft near the printer maybe you could try using a cardboard box or something to build a makeshift enclosure.
Amount of extrusion on the brim looks about right, so first thing I’d make sure is that the first layer gets laid down in a constant distance to the bed. That requires the bed to be level, but also fro the printer to know about how the bed is a bit uneven in places so it can compensate for that.
The FAQ for the printer mention:

This sounds like they did something about the autoleveling in the new firmware release. Make sure you use that, then report back.
Oh! Okay
2 things that worked for me when I first started.
Glue stick Having the right nozzle settting.
I’ve read about special Glue Sticks for printing if nothing works I try this , thanks :D
I normally use Elmer’s glue. I tried dollar store stuff and I forgot the problem with it but I recall being annoyed.
Also Human touch causes adhesion issues with the bed. Use rubbing alcohol to clean bed. I used other products like clorox wipes and windex and learned it does not work.
Is the bed clean and does the first layer look good?
I would say the Bed is clean. The Picture is the Site in contact with the Bed
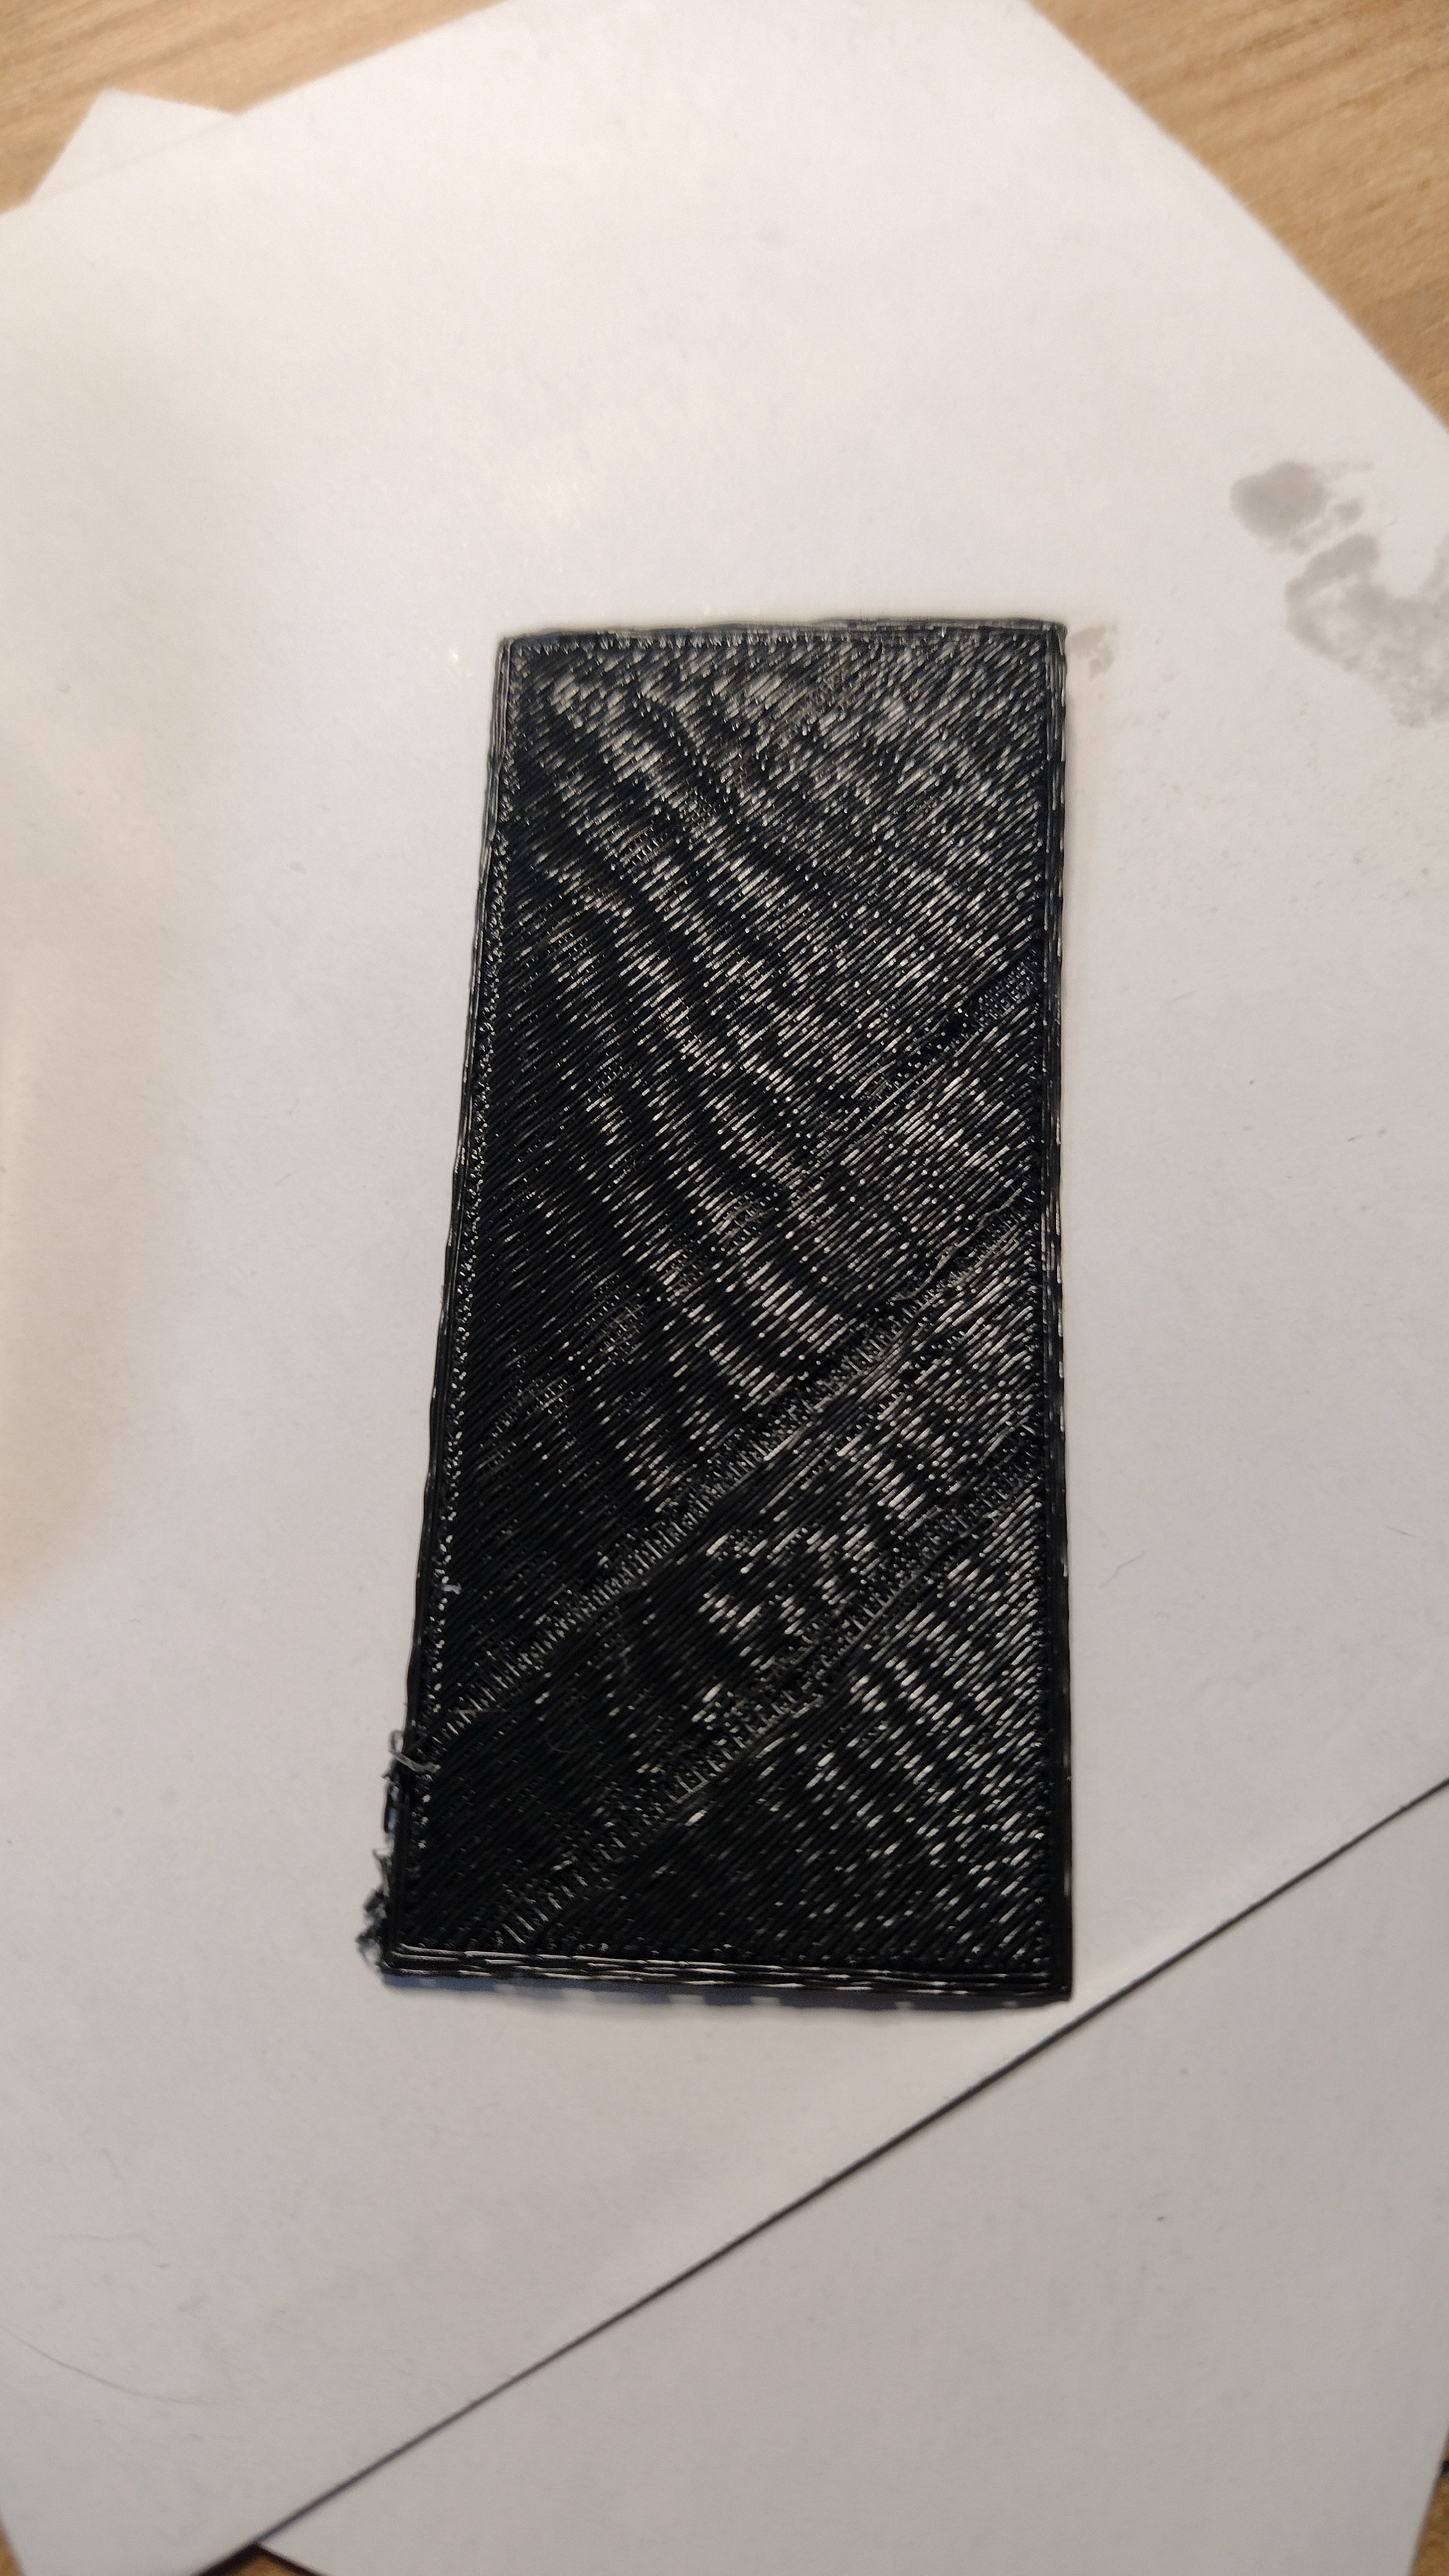
Your nozzle is way too high off the bed in this image. You need to be about 0.2mm off the bed. In this it looks like you’re 1mm off or more: you can see the lines from each pass separately.
So
- Lower your bed temp to 60c and
- Redo your first layer offset/bed leveling.
Ignore people talking about glue sticks: you shouldn’t ever need a glue stick with pla on a modern printer. If you use one you’re doing something wrong.
This
Are you saying the surface in the picture is the one that touches the bed? If that’s the case it should be nearly perfectly flat and smooth(ish depending on bed texture). If that’s the orientation it prints in there’s still an issue of distance and possibly belt tension or something else because of those waves and deep grooves. There’s a bunch of different methods to level a bed but ultimately you want the nozzle to slightly squish the filament it is putting down, in the picture it looks like it might not be.
As for the bed being clean, if you haven’t yet I’d definitely spray some isopropyl alcohol and wipe it off, taking care not to touch the bed with your hands at all – oil from your skin will easily cause adhesion issues.
Larger prints in general, and especially if there’s temperature variance while printing (drafts), can start to pull off the bed as the material contracts. You may need to add a brim in your slicer to help keep it welded down. When it’s necessary to use one will be a learning experience as you get used to your particular printer and environment.
Yes this is the Site in contact with the Bed. In my actual Try I’ve “loosend” the PLA a bit from the Coil so it can be passed down easier and decreased the printing speed. If that’s fails I’m gonna try to clean it with alcohol. Thank you for the advice! :D
Drop your Z axis more than it was in the pic, I’d try at least two 0.05mm more steps down, and maybe even more. You want PLA to be pretty squashed. Stick a piece of computer paper in between the nozzle and the bed and lower the nozzle to the point that it takes a fair bit of resistance to pull the piece of paper out. That’s the amount of z offset you want with PLA.
As others have said, you need to cool off a bit too, try 60 bed, 195 nozzle. See how it goes, you can always go up a bit or down a bit as it prints too. Try 60/195 though, no fan for the first 3 or 4 layers.
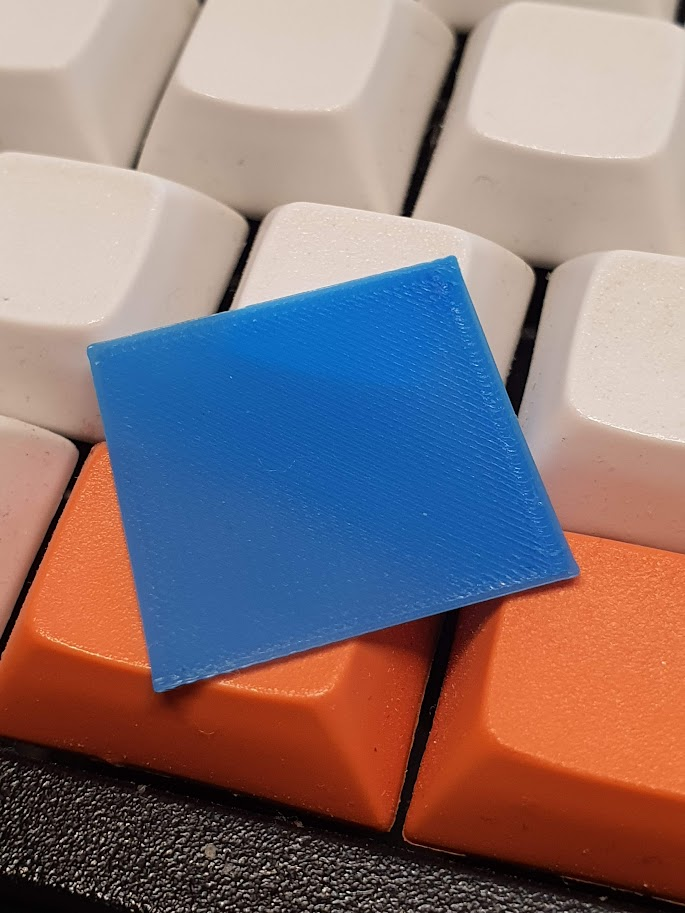
This is not good first layer. Your Z offset is too big. That is to say your nozzle starts too high. Every line needs to squish a bit to adjacent one, but you are not suppose to create waves.
This is a good first layer (0.16mm):
Have you leveld the bed allready, it needs to have the right distance to the nozzle everywhere.
I’ve used the auto leveling, so I guess it is leveled(?)
Two questions: how high is the nozzle away from the printbed when you Print the First layer and have you done a Testprint to check the bedlevel
I’ve printed a Benchy which worked very well. And the Nozzle is almost touching the Bed. The Manual said if I can barely shove a Piece of A4 Paper between Nozzle and Bed that would be fine so I did that
Maybe you can Print something Like this First layer Test (https://www.printables.com/de/model/252059-perfect-first-layer-test) so we can get a closer Look at your First layer
Ive actually started another attempt with lower speed and I “loosend” the PLA from the Coil so it can be passed down more easily. If that fails I will print this test. Thank you :D
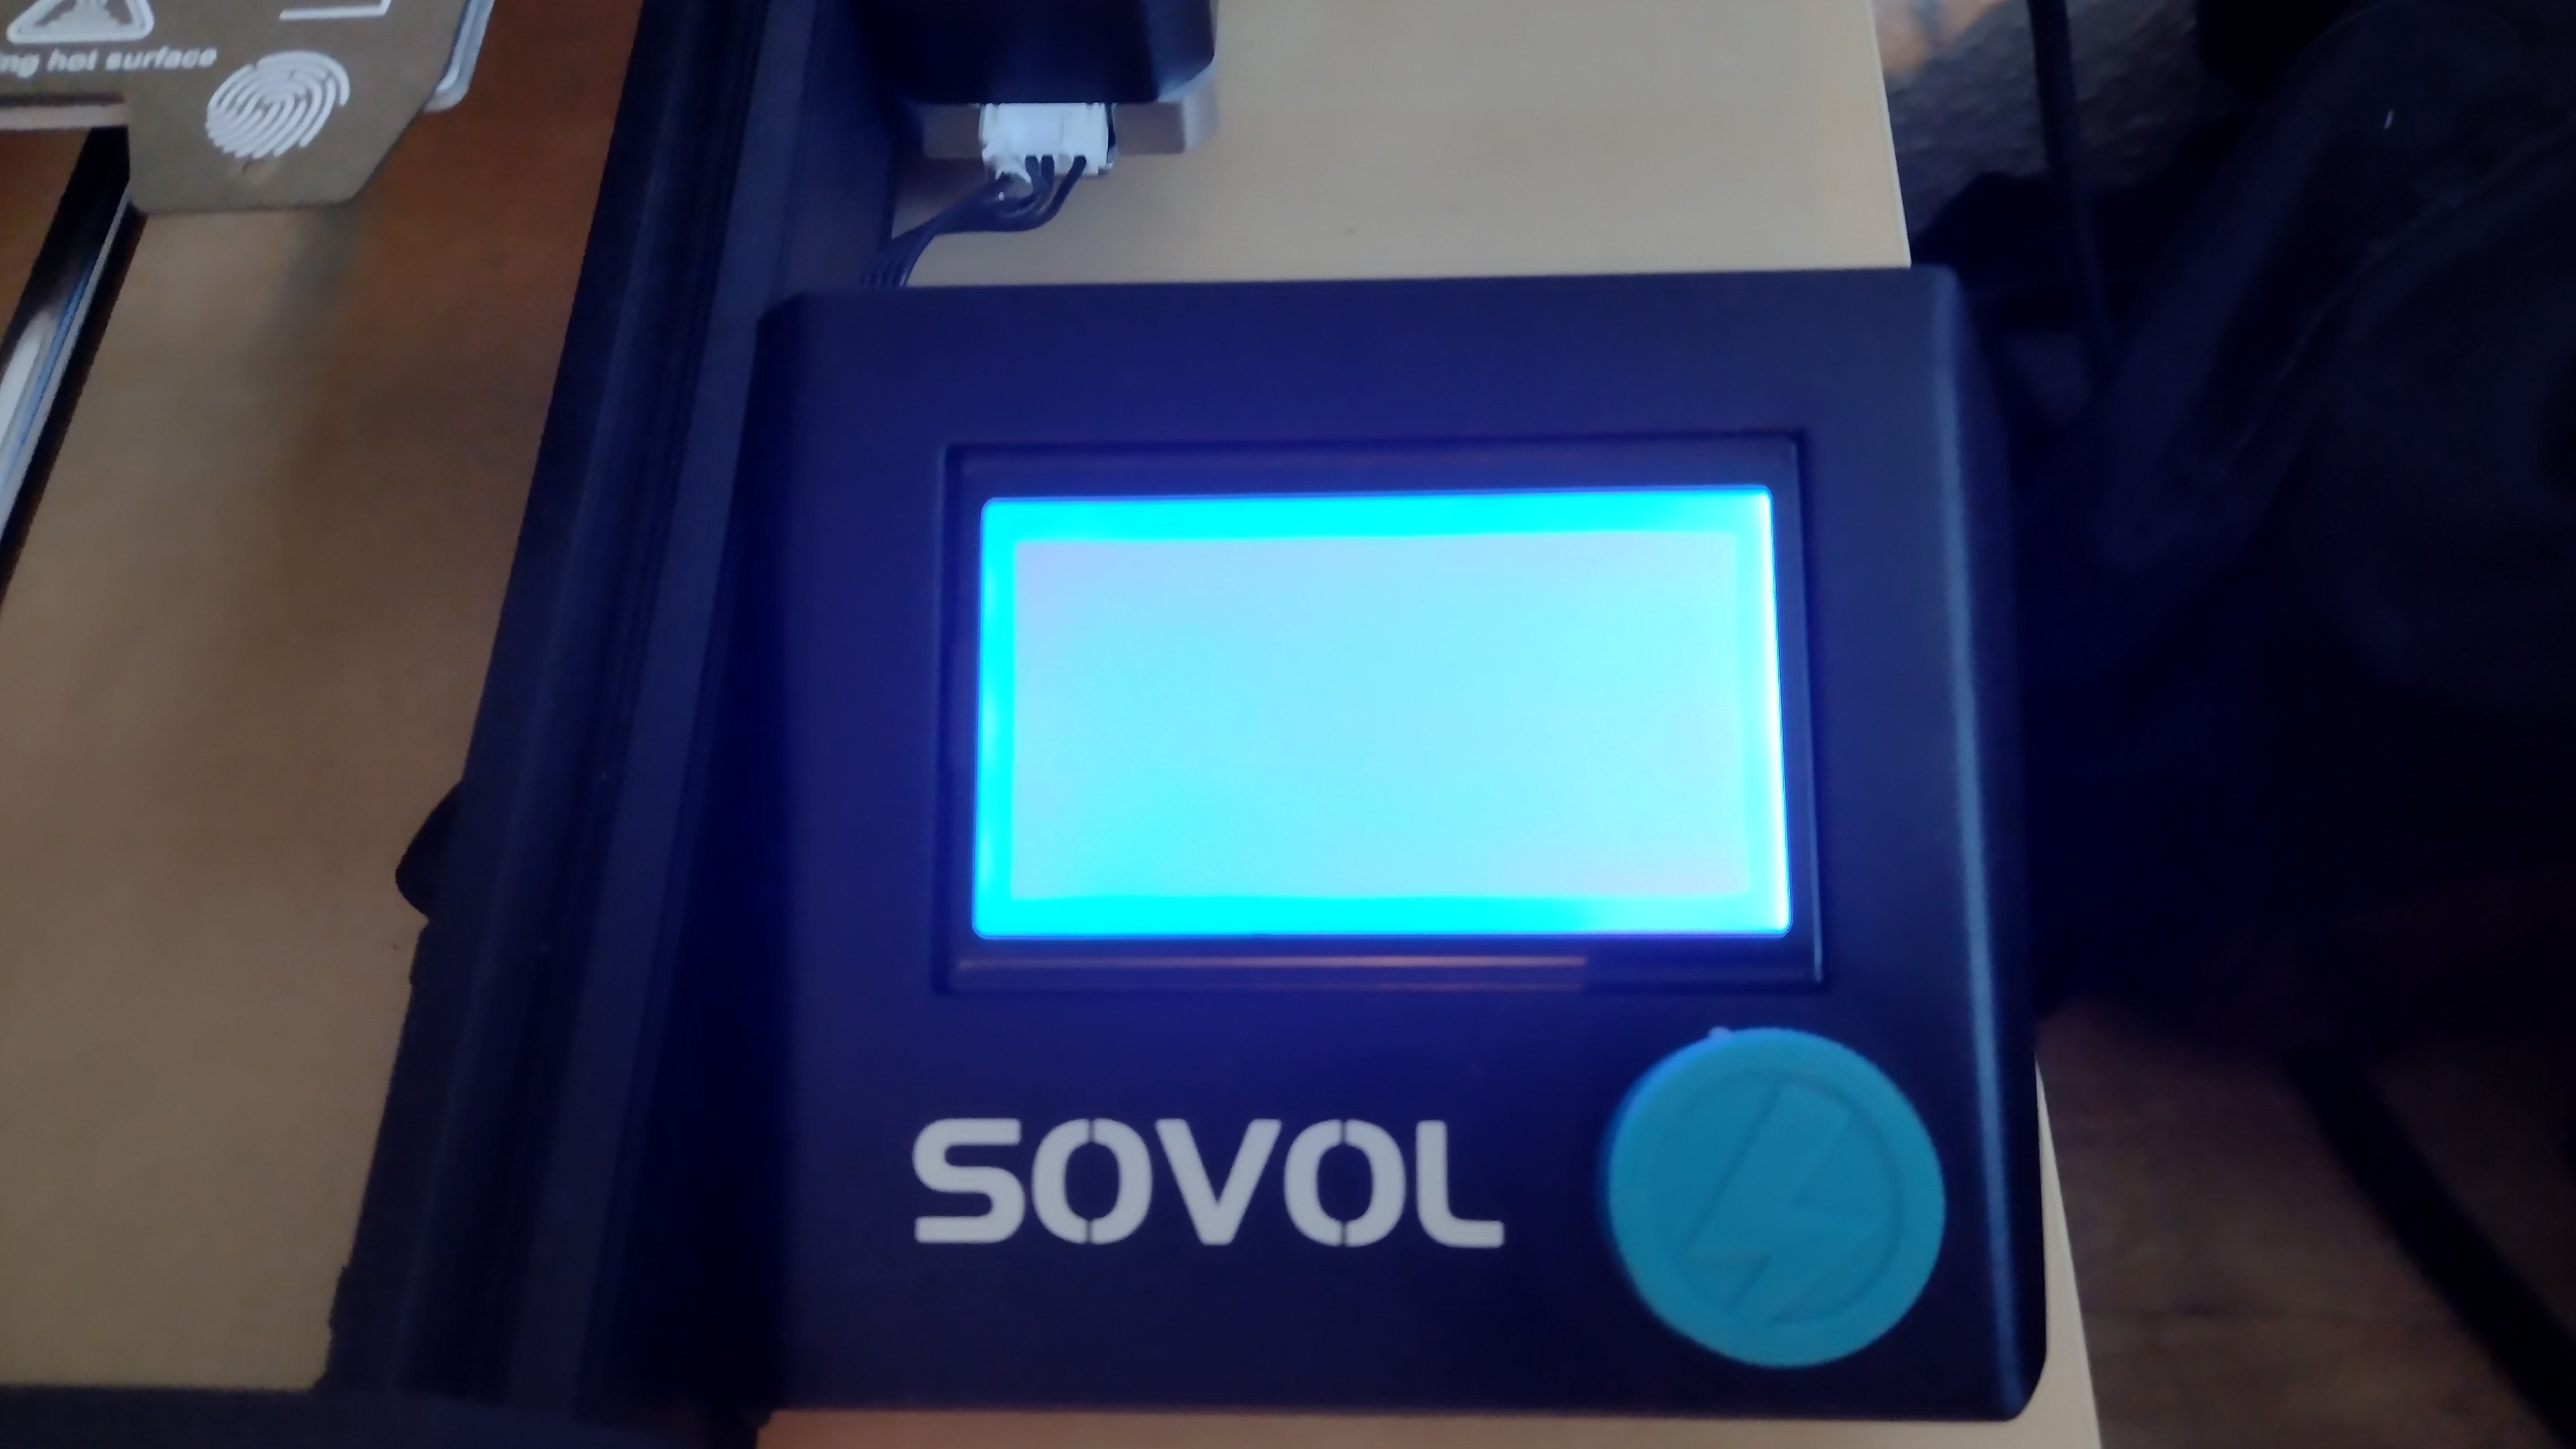
WoW. I tried to Update the Firmware and now it’s stuck like this.
I have no personal experience with a failed firmware update but a quick search returned https://forum.sovol3d.com/t/sv06-bad-flash-probably-needs-bootloader/1452 and “solved” = https://forum.sovol3d.com/t/sv06-mainboard-brick-after-updating-sovol-firmware/862/52
Seems like for some people it was ultimately the sd card being faulty that was causing the failure, especially if it was the sd card included with the printer.
Good luck!
Thank you for your help! I’ve now set up a VM with Ubuntu and used a different FlashCard to safe it to. And now he is working again!
Huh. Yeah I used the SD Card that Came with the Printer.

